One thing I wanted when we moved was to have a place to take photos where I don't have to put everything away each time - and I think I've found it!
Our new house is partly open-plan with double height ceilings and a gallery - and that is *mine*!
This first shot was taken from my seat at the computer, you can see the gallery is above the kitchen. If you have very good eyes (and click on the photo to enlarge) you might be able to spot that one of myfridge magnets is a pic of the lovely Johnny Depp by Silja Erg!
This is the view up the stairs - again, the eagle-eyed might spot my little flutterbutt by Sharona of Raisinlike
Here is my set-up, below two windows which are great for watching the stars and by day give light from two directions. There's just room for my light box, tripod and chair. The little storage chests behind hold my stock - and Captain Picard is ready for his close-up.
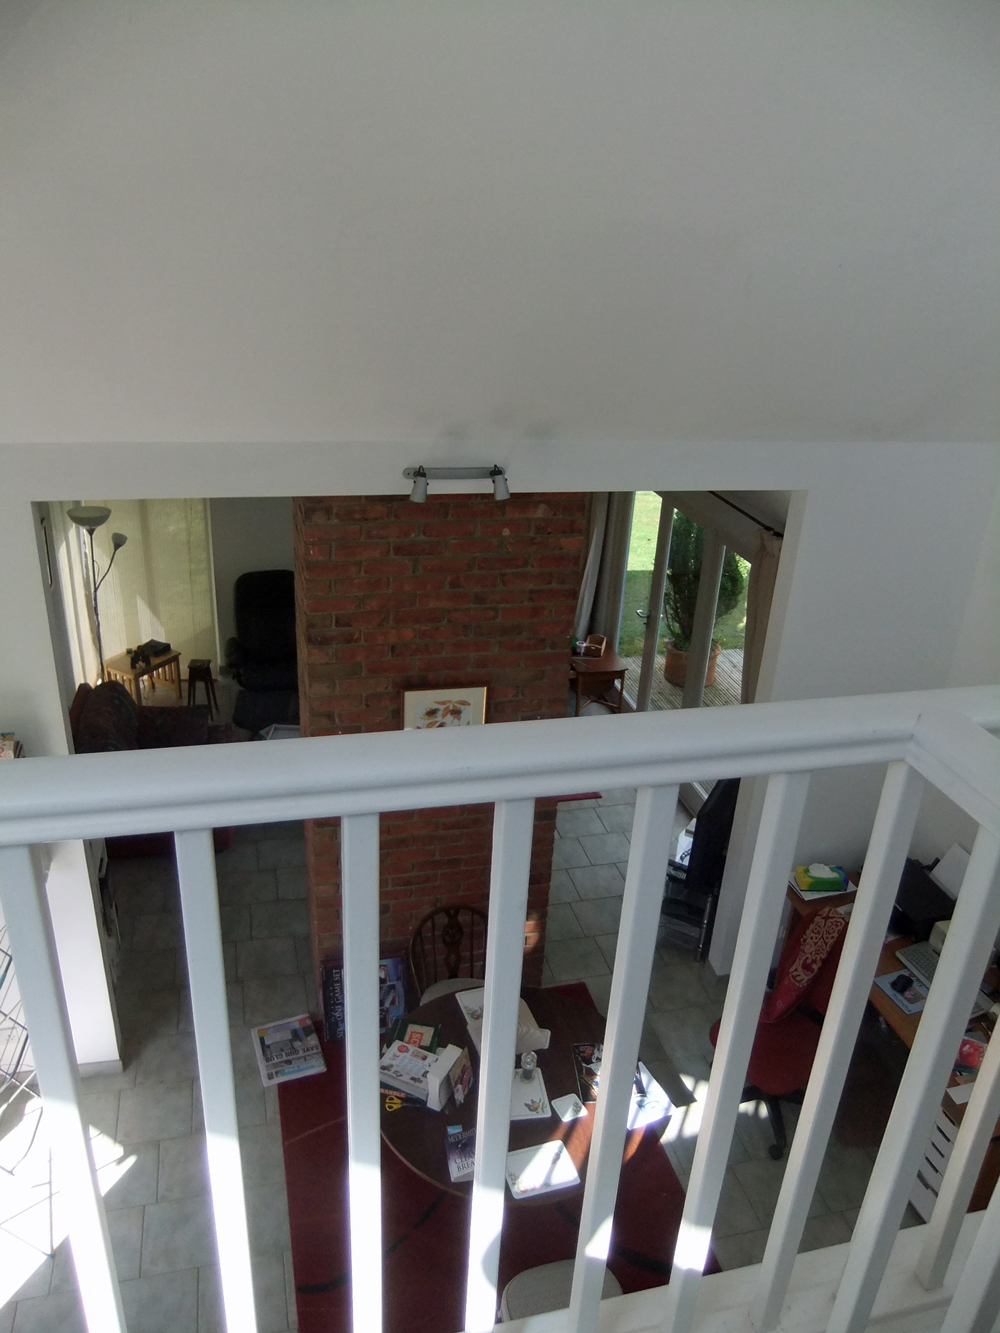
Looking down from the gallery to the main room, you can see the computer to the right where I sat for the first shot.
And this is the view from behind the chair on the gallery, over the stairs to the balcony off the bedroom. Just look at that view!
I'm not *quite* satisfied - at the moment my light box is standing on one of my yarn storage boxes, I need to replace that with a small table. Getting there though! Here's Picard, straight from the camera without any photoshopping...
Not bad, is he? Maybe just needs lightening a little. "Tea, Earl Grey, hot."
Showing posts with label photography lightbox. Show all posts
Sunday, 22 April 2012
Thursday, 19 June 2008
Create an Inexpensive Photography Lightbox - wikiHow
My task for Friday is to create a lightbox - and this is how I'm going to do it.

from wikiHow - The How to Manual That You Can Edit
Good jewelry and close-up photography requires good lighting. However, being able to light a piece properly to show the true color and beauty of it can be difficult. A light box is a great solution. It provides light diffusion and a uniform background against which to place your piece. They can be expensive though. There is a solution, costing as little as $2 (or free if you already have all the materials), using a cardboard box, poster board and some tissue paper. This light box can be used with any light source, and even outdoors.
Article provided by wikiHow, a collaborative writing project to build the world's largest, highest quality how-to manual. Please edit this article and find author credits at the original wikiHow article on How to Create an Inexpensive Photography Lightbox. All content on wikiHow can be shared under a Creative Commons license.
from wikiHow - The How to Manual That You Can Edit
Good jewelry and close-up photography requires good lighting. However, being able to light a piece properly to show the true color and beauty of it can be difficult. A light box is a great solution. It provides light diffusion and a uniform background against which to place your piece. They can be expensive though. There is a solution, costing as little as $2 (or free if you already have all the materials), using a cardboard box, poster board and some tissue paper. This light box can be used with any light source, and even outdoors.
Steps
- Choose a box appropriate for the size of the objects you will photograph. You may find that you need to make boxes in various sizes.
- Secure the bottom of the box with packing tape. Use more packing tape to secure the bottom flaps inside. This will keep them out of the way.
- Lay the box on its side, with the opening facing you.
- Mark lines about 1 inch (2.54 cm) inside each edge of the box on each side and on the top. A standard 12" (30 cm) ruler makes the perfect straight edge and is the right width.
- Using the box cutter, carefully cut along the lines you drew. You can use the ruler as a straight edge to guide your cut. It is not necessary to get the cuts absolutely straight. Notice that the flaps on the front of the box have been left on for now to add stability and make it easier to cut. You may find that taping the front flaps shut makes it easier to cut.
- Cut the front flaps off with a box cutter.
- Cut a section of tissue paper large enough to fit over each of the openings you cut. Then tape it to the outside of the box using cellophane tape. Start with one layer of tissue paper. After completing the box and making some test shots, you may find that you need additional layers of tissue paper to achieve the right lighting.
- Use your box cutter and scissors to remove any stray pieces of cardboard from the front edge of the box.
- Cut a piece of matte white poster board to fit the inside of your box. The piece should be in the shape of a rectangle, with the width being the same as a side of the box, but the length being twice as long.
- Insert the poster board into the box, curving it up towards the top of the box. Curve it gently; don't crease it. Trim it if necessary. This will create an infinite, edgeless look for the background of your shots.
- Cut matte black poster board in sections large enough to cover the tissue paper areas. This will allow you to block light from certain directions when taking photographs.
- Add your lighting. Photo lights, flashes, and even standard desk lamps can be placed on either side or above the box to produce the desired lighting effect.
- Take some test shots as you go to see how well your tissue paper filters and diffuses the light. Add layers of tissue paper as needed. This photo was taken in the example light box, and is not retouched (other than cropping). Now go start taking great photos!
Tips
- Make sure to use matte and not glossy poster board. Glossy poster board can reflect the light and cause glare.
- Try other colors of poster board and even fabric to achieve the desired effect.
- You may find that removing the bottom of the box makes it easier to just drop the light box over your subject.
- If you take shots straight down from above, cut the bottom of the box like the sides and top, and cover with tissue paper. Then set the box open side down and cut a lens sized hole in what is now the top of the box. That way you can lay out your subject on a piece of white matte cardboard, then drop the box over it, and shoot the photograph through the hole.
- If your camera has one, learn how to use its "custom white balance" (WB) feature--this can make all the difference when shooting items in this fashion.
Warnings
- Be careful with the box cutter. It's hard to take photos without fingers! Always cut away from yourself and from your hands.
- Make sure lights don't start a fire!
Things You'll Need
- Cardboard box (size will depend on what you are shooting)
- 2-4 sheets of white tissue paper
- 1 piece of matte white poster board
- 1 piece of matte black poster board
- Scotch tape
- Packing tape
- 12" (30 cm) ruler
- pencil or pen
- Scissors
- Box cutter
Article provided by wikiHow, a collaborative writing project to build the world's largest, highest quality how-to manual. Please edit this article and find author credits at the original wikiHow article on How to Create an Inexpensive Photography Lightbox. All content on wikiHow can be shared under a Creative Commons license.
Subscribe to:
Posts (Atom)


